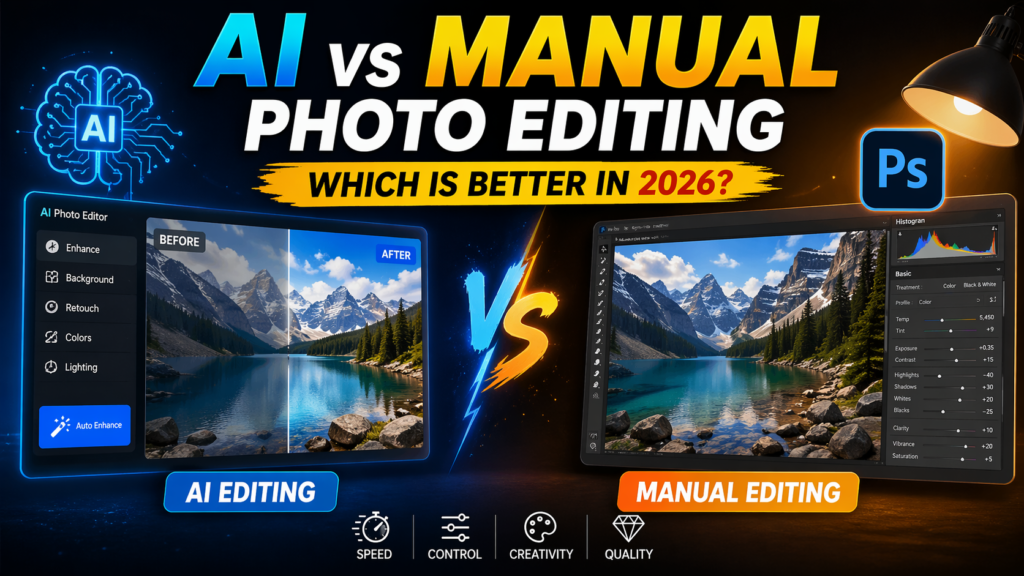
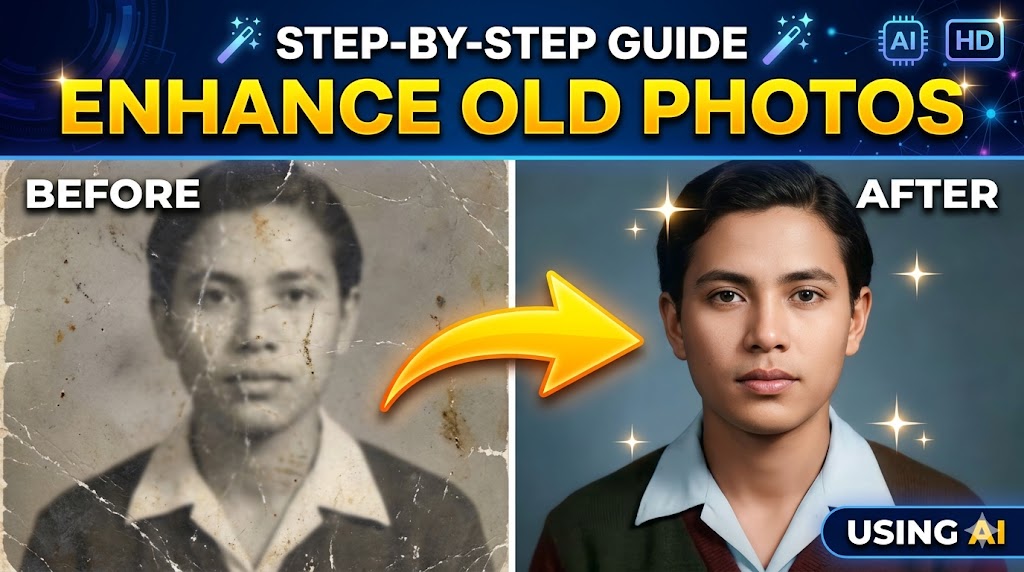
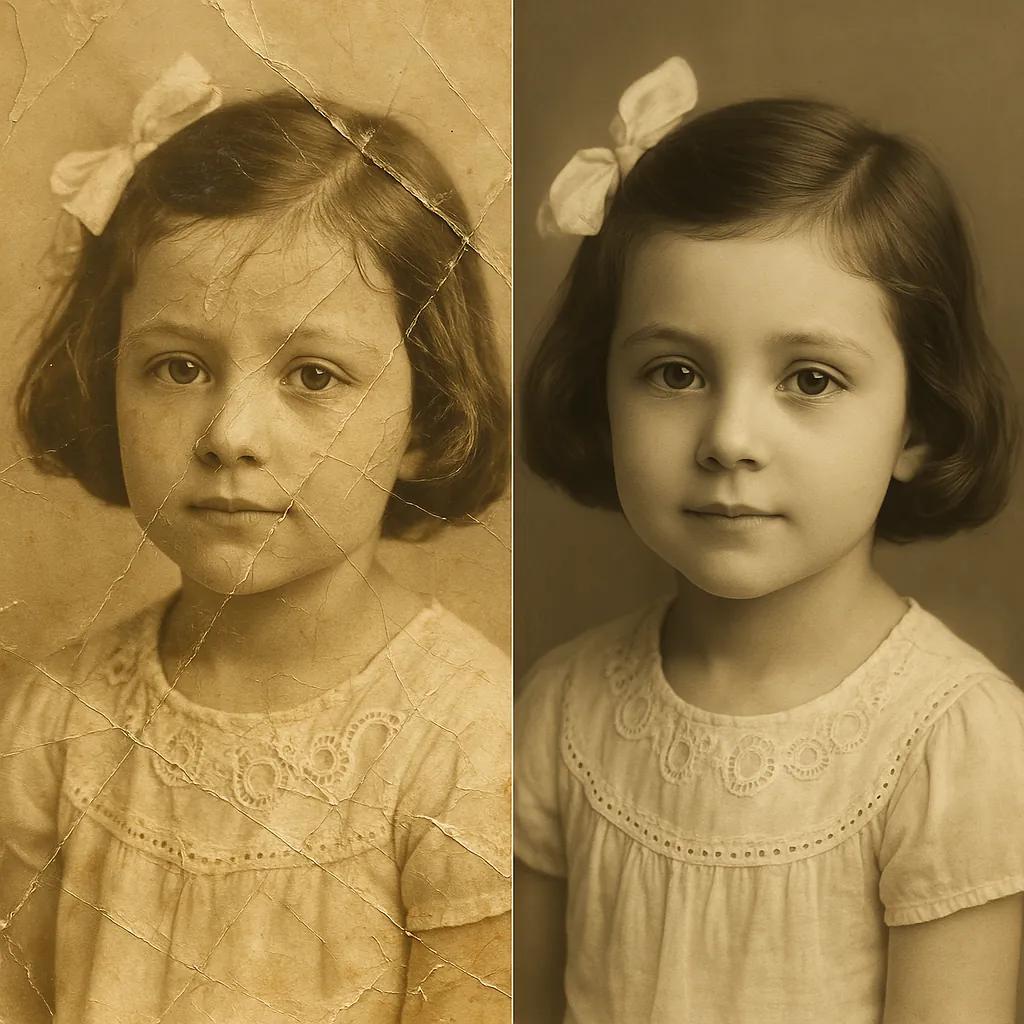
Old photographs are more than just images—they are emotional time capsules. Unfortunately, aging, environmental damage, and outdated technology often leave them faded, blurry, or scratched. In the past, restoring these photos required expert-level skills in tools like Adobe Photoshop. Today, artificial intelligence has simplified this process dramatically.
This guide will walk you through each step in detail, helping you understand not just what to do, but why it matters.
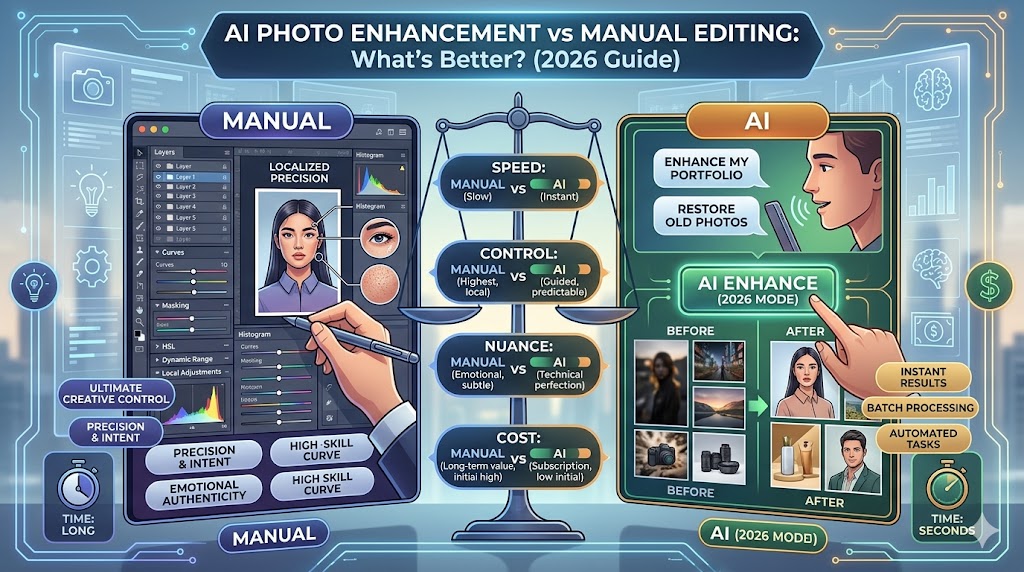
📸 Understanding AI Photo Enhancement
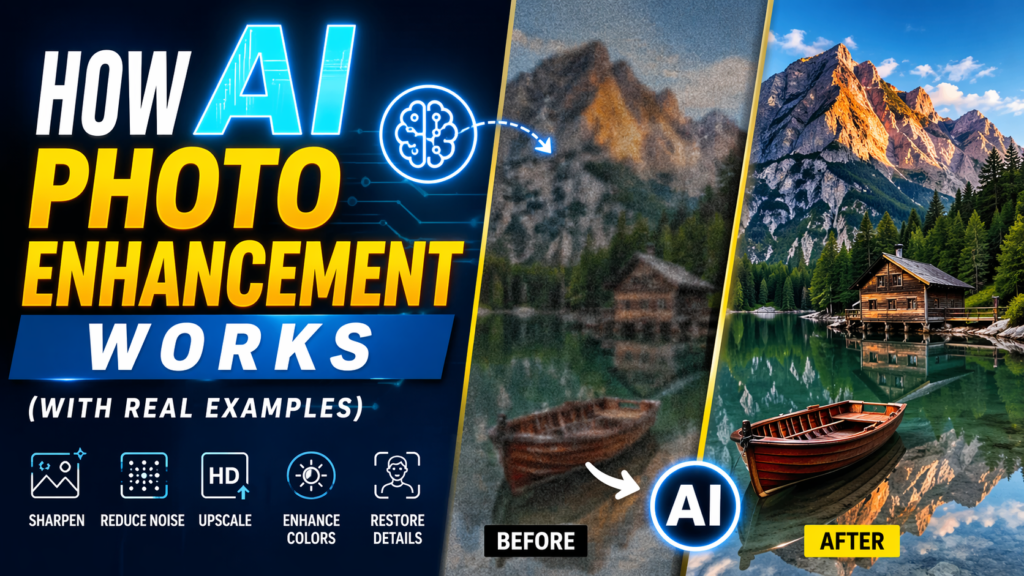
AI photo enhancement uses advanced algorithms trained on massive datasets of images. These systems don’t just apply filters—they actually “understand” image patterns.
What does this mean in practice?
- When AI sharpens a face, it doesn’t randomly add detail—it reconstructs missing features based on learned facial structures.
- When restoring colors, AI predicts realistic tones by analyzing similar images from its training data.
- When removing noise, it distinguishes between actual detail and unwanted grain.
This is why AI often produces better results than traditional one-click filters.
🛠️ Step 1: Digitize Your Old Photo (With Precision)
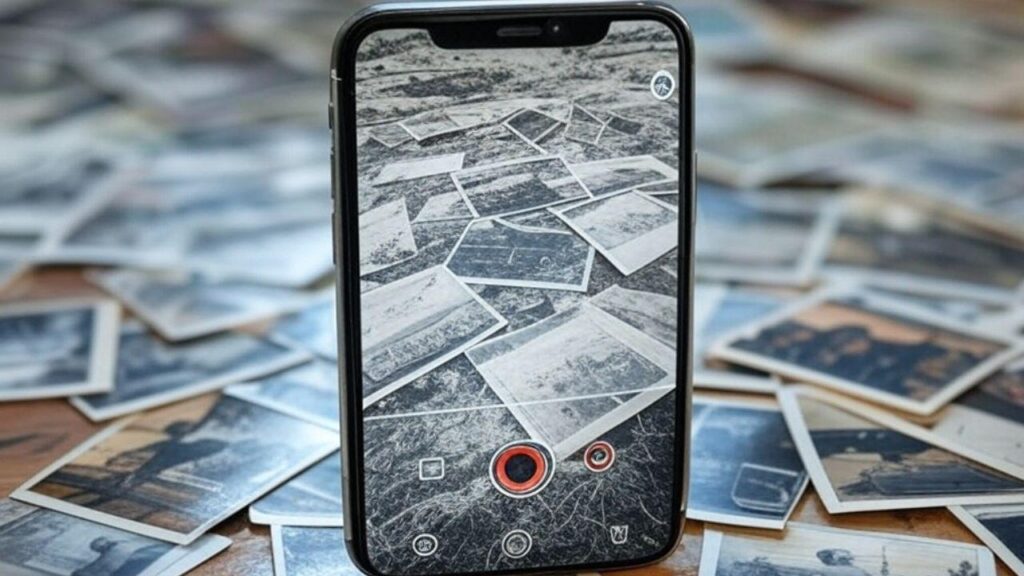
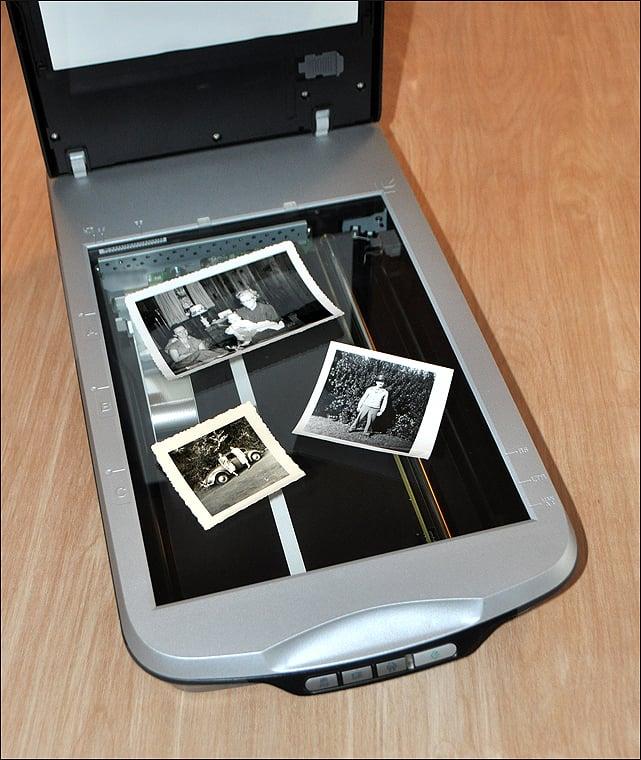
Before enhancement, your photo must be converted into a digital format. This step is critical—poor input leads to poor output.
Detailed Breakdown:
- Using a Scanner:
A flatbed scanner captures fine details and textures. Setting the resolution to at least 300 DPI ensures that the AI has enough data to work with. For heavily damaged photos, 600 DPI is even better. - Using a Smartphone:
Modern phones can work well, but lighting is key. Avoid shadows, reflections, and uneven brightness. Apps designed for scanning automatically adjust perspective and clarity. - Cleaning the Photo:
Dust and fingerprints may seem minor, but AI can mistake them for permanent damage. Gently wiping the surface improves results significantly.
👉 Think of this step as laying a strong foundation—without it, even the best AI tools will struggle.
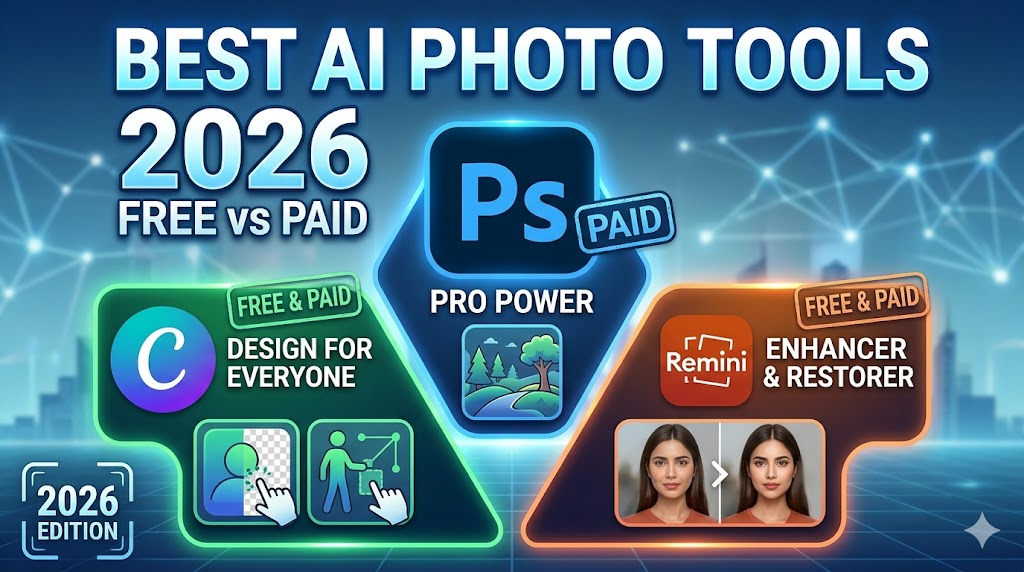
🤖 Step 2: Choose the Right AI Tool (Based on Your Goal)

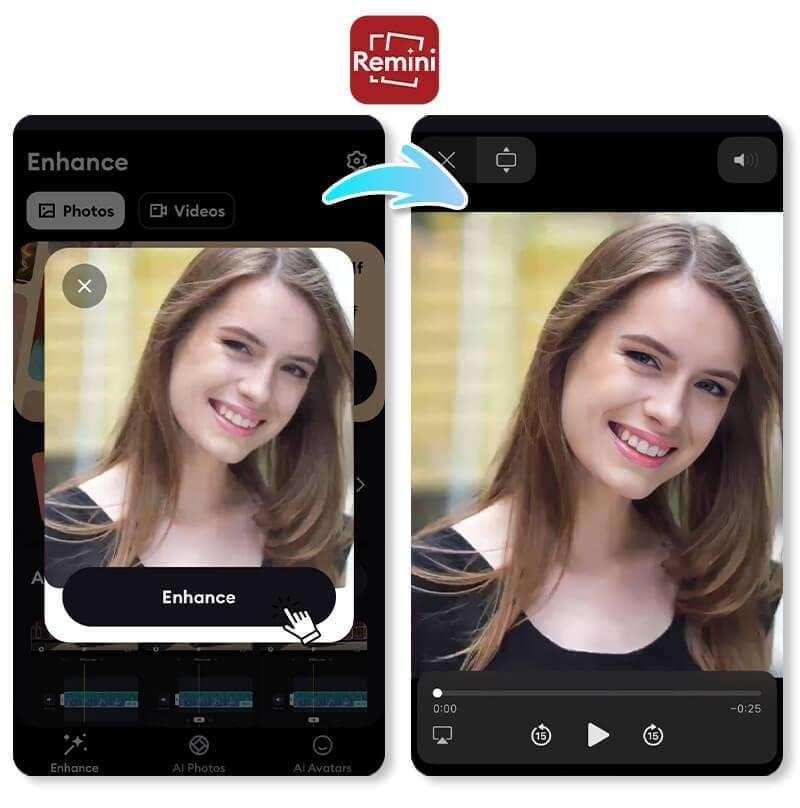
Different tools specialize in different types of enhancement. Choosing the right one saves time and improves quality.
Tool Explanations:
- Remini
This app is particularly strong in facial restoration. If your old photo includes people, Remini can rebuild facial features like eyes, skin texture, and hair details. It’s ideal for portraits but less powerful for landscapes. - Topaz Gigapixel AI
This software focuses on resolution enhancement. If your image is very small or pixelated, it can upscale it while preserving detail—something traditional resizing cannot do. - Canva
Canva offers beginner-friendly tools with simple sliders. It’s not as advanced as others, but it’s perfect for quick fixes and basic improvements. - Fotor
Fotor provides a balanced approach, combining restoration, color correction, and enhancement features in one platform.
👉 Instead of relying on one tool, professionals often combine two or more for the best results.
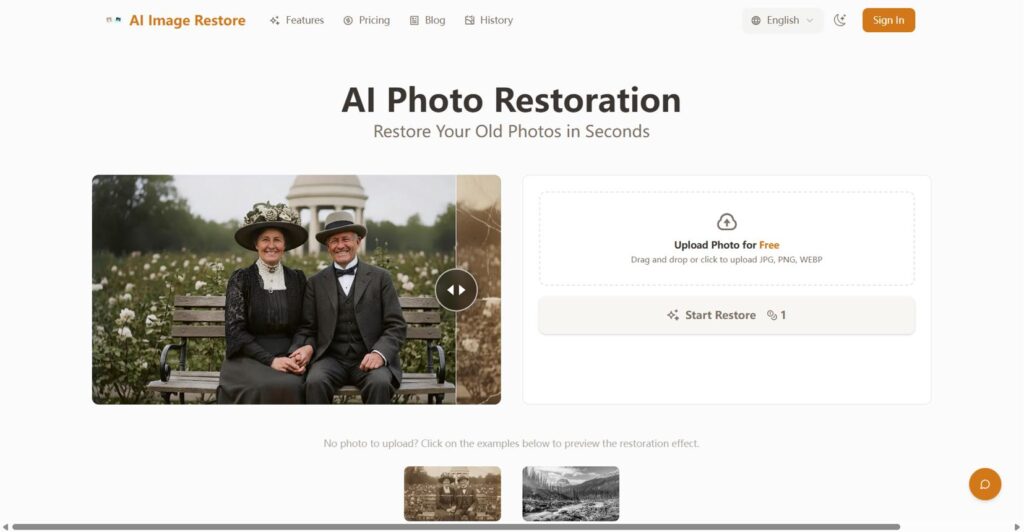
⚙️ Step 3: Upload and Let AI Analyze the Image
Uploading your image is simple, but what happens behind the scenes is quite sophisticated.
What AI Does During Analysis:
- Detects faces, edges, and textures
- Identifies blur, noise, and damage areas
- Segments different parts of the image (background vs subject)
This analysis phase is crucial because it determines how accurately the AI will apply enhancements.
👉 A well-analyzed image leads to more natural and realistic results.
🎨 Step 4: Apply AI Enhancements (With Understanding)
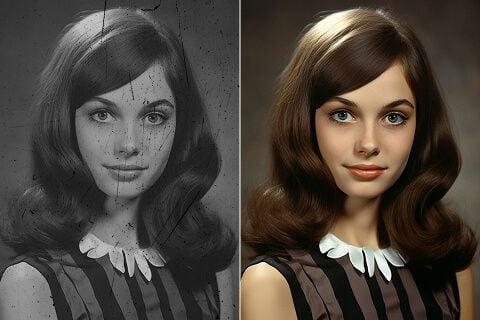
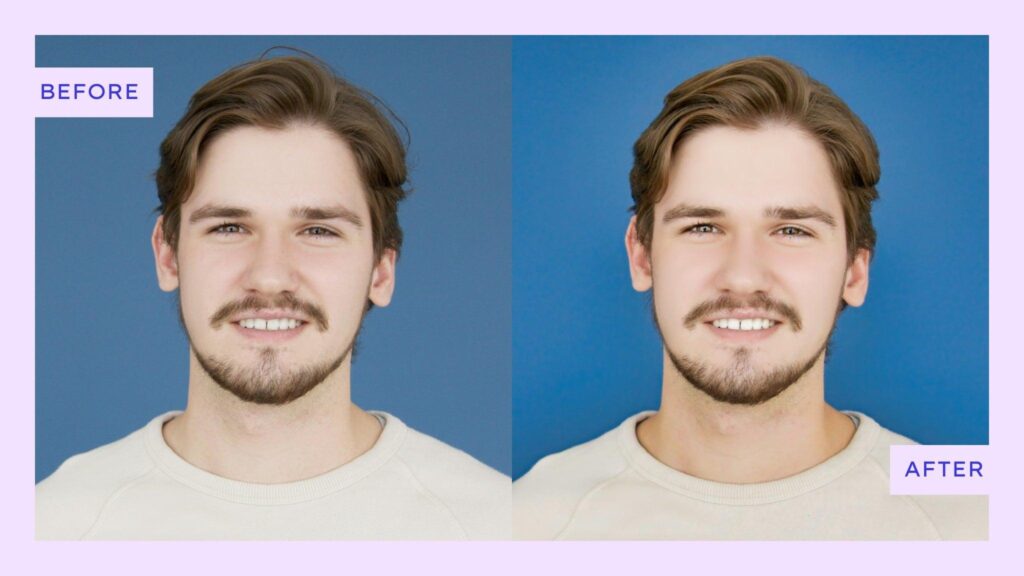
This is the core step where your image transforms.
Detailed Explanation of Enhancements:
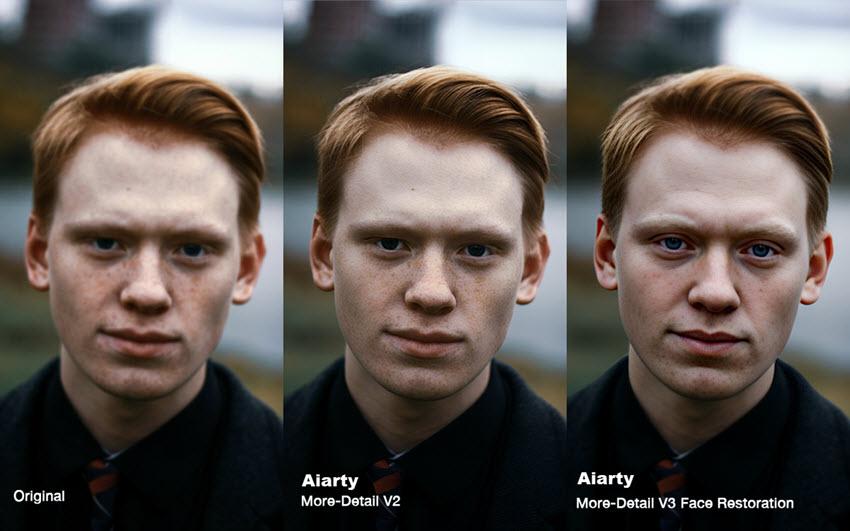
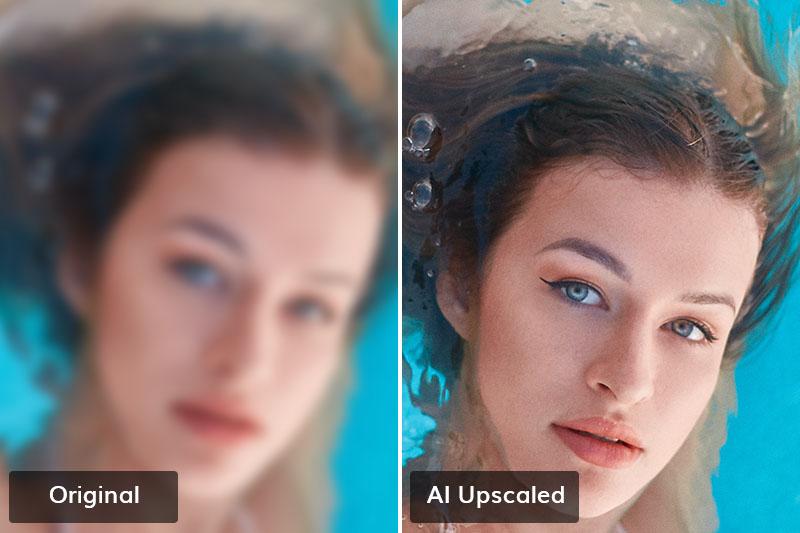
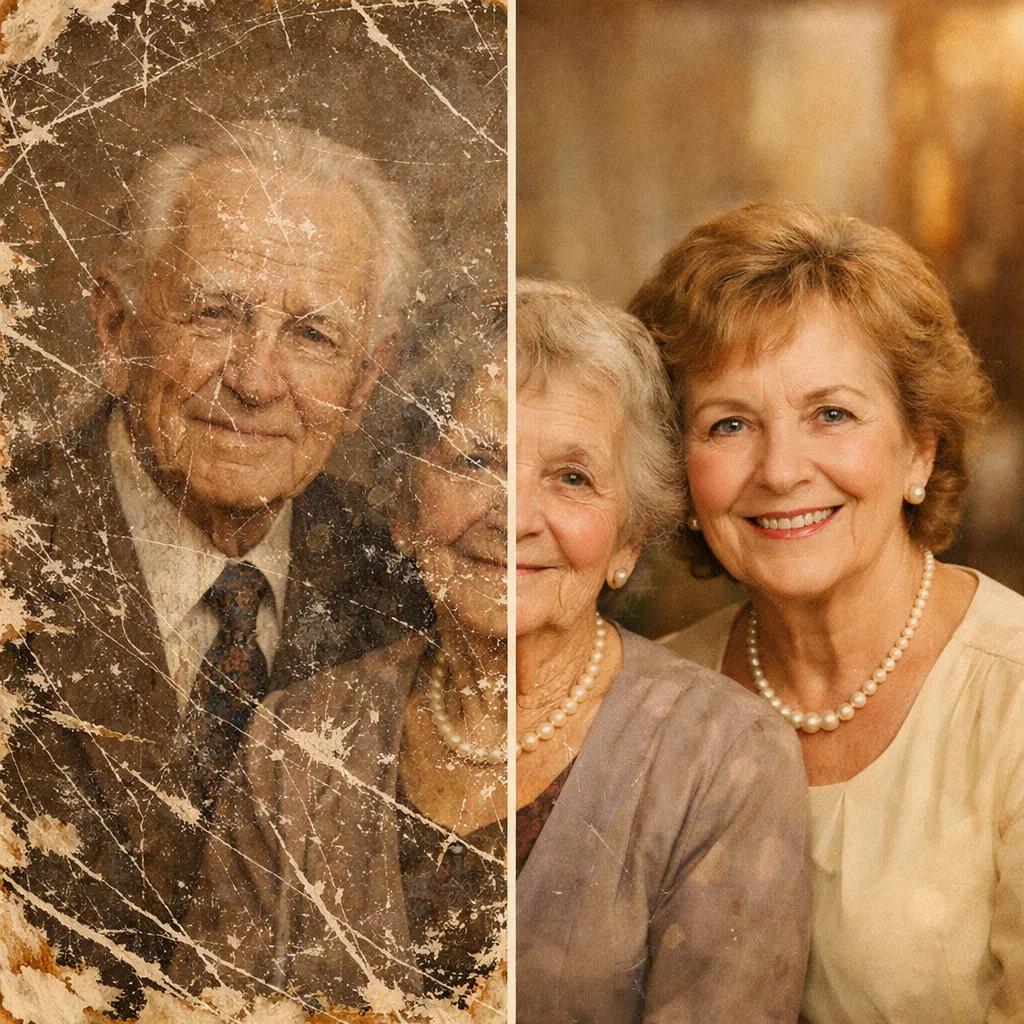
- Face Restoration:
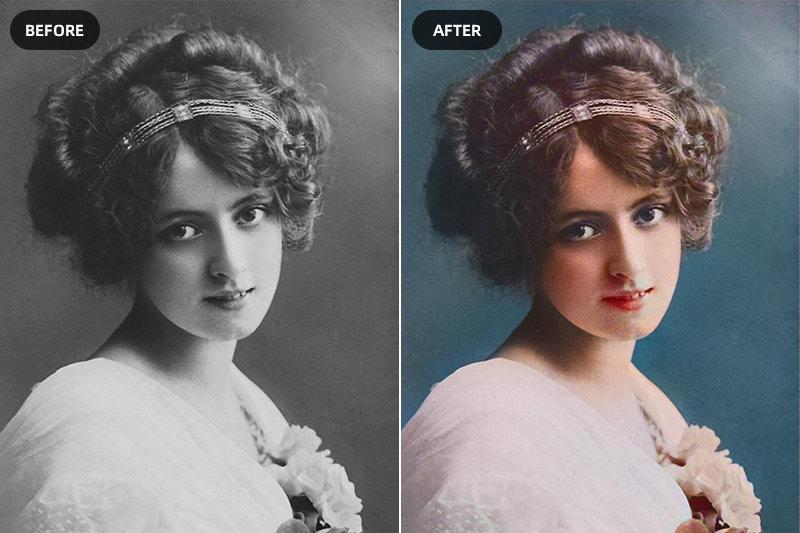
AI reconstructs facial features using trained models. This is especially useful for old family photos where faces may be blurred or unclear. - Colorization:
Black-and-white photos are converted into color by predicting realistic shades. While not always historically perfect, results are often visually impressive. - Sharpening:
AI enhances edges and details without creating unnatural artifacts. This is very different from basic sharpening filters that often overshoot. - Noise Reduction:
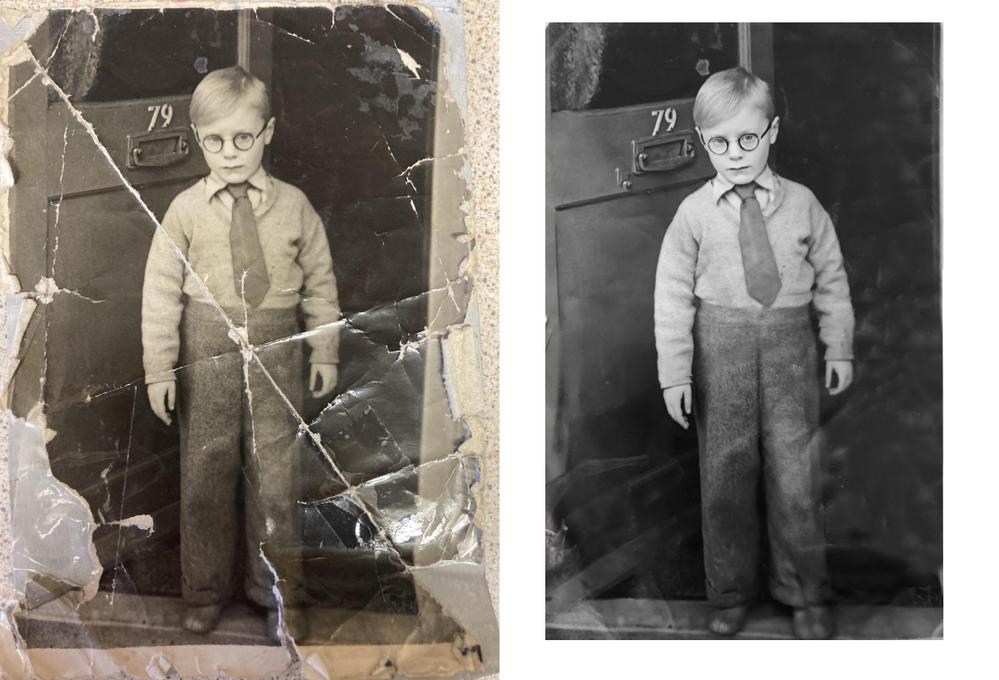
Grain and pixel noise are removed while preserving real details. This creates a cleaner and more modern look. - Damage Repair:
Scratches, cracks, and stains are filled intelligently, often blending seamlessly with surrounding areas.
👉 The key is balance—too much enhancement can make the image look artificial.
🧠 Step 5: Fine-Tune for Professional Results
AI gives you a strong starting point, but manual adjustments add the finishing touch.
What to Adjust and Why:
- Brightness & Contrast:
Improves visibility and depth. Old photos often look flat, so this step adds life. - Color Balance:
Ensures skin tones and backgrounds look natural, not overly warm or cold. - Sharpness Control:
Reduces over-processing. Slight softness can sometimes look more realistic.
For advanced refinement, tools like Adobe Lightroom or Adobe Photoshop can be used.
👉 This step separates “good” results from “professional” ones.
💾 Step 6: Export and Preserve the Image
Saving your image correctly ensures your work is not wasted.
Best Practices:
- Use PNG for maximum quality
- Use high-quality JPG for smaller file sizes
- Keep the original scan untouched for backup
- Store files in cloud storage for long-term safety
👉 Think long-term—this image may be valuable for years to come.
⚠️ Common Mistakes (Explained Clearly)
Many users unknowingly reduce their results by making simple mistakes:
- Low-Resolution Input:
AI cannot create detail from nothing—better input equals better output. - Over-Editing:
Excessive sharpening or color makes images look fake. - Ignoring Multiple Tools:
One tool rarely does everything perfectly. - Skipping Manual Adjustments:
AI is powerful, but human judgment still matters.
📈 Why AI Photo Enhancement is Dominating in 2026
AI is not just a trend—it’s becoming the industry standard.
Why?
- It saves hours of manual work
- It reduces the need for advanced skills
- It produces consistent, high-quality results
- It’s accessible even to beginners
Professionals now use AI as a base layer, then refine manually.
🏁 Final Thoughts
Enhancing old photos using AI is a perfect blend of technology and creativity. With the right approach, you can transform faded memories into vivid, high-quality images that feel alive again.
The real advantage of AI is not just speed—it’s accessibility. Whether you’re a beginner or a professional, you can now achieve results that were once impossible without years of experience.